
Step-by-step instructions: Your first DIY miniature house – tips and tricks for beginners
Share it with your loved ones! ❤️
Building a DIY Miniature House: A Step-by-Step Guide
Building a DIY miniature house can be an incredibly rewarding and relaxing experience. Whether you're an experienced crafter or just diving into the world of miniature houses, this guide will help you successfully complete your first project. In this blog post, we'll walk you through the entire construction process and provide helpful tips and tricks to make the process as smooth as possible.
Choosing the right kit
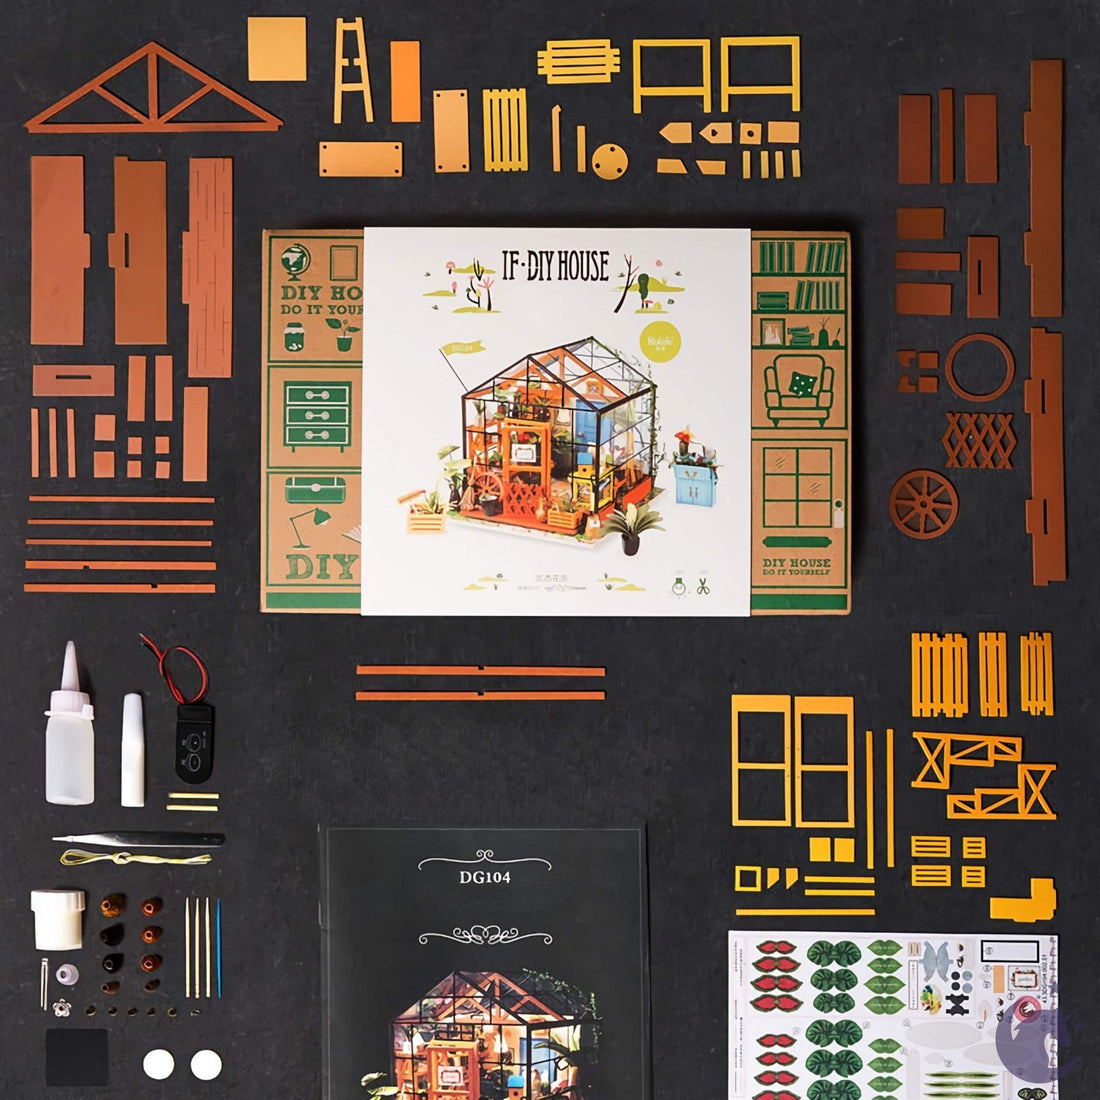
The first step in your DIY miniature house project is choosing the right kit. If you're a beginner, it's important to choose a model that's both simple and detailed enough to help you get started. Make sure the kit includes clear and understandable instructions and all the necessary materials. A simple garden shed or small kitchen might be ideal for beginners.
Preparation is everything
Before you begin construction, it's a good idea to prepare all the parts and tools you'll need. Lay out the kit's pieces neatly and make sure you have all the necessary tools, such as glue, tweezers, scissors, and a cutting board, within easy reach. A well-organized workspace will make construction much easier and prevent frustration.
Understanding the instructions
Take the time to read the step-by-step instructions carefully. Many DIY miniature house instructions are very image-heavy, which is especially helpful for understanding complex construction steps. Read each step thoroughly before completing it and pay attention to details that can easily be overlooked. Understanding the entire construction process will help you avoid mistakes.
Start construction
Start with the basic structure of your miniature house. This usually involves assembling the walls and setting up the frame. Make sure to position all the pieces according to the instructions and secure them with plenty of glue. For more complex models, you can work step by step, completing individual sections before moving on to the next.
Bringing details to life
Once the basic structure is in place, the fun part begins—adding details! This is where you can express your creativity by placing furniture, decorations, and small accessories. Take your time with these small details, as they really bring your miniature house to life. A magnifying glass can help you ensure everything looks precise and neat.
Install lighting
Many DIY miniature houses offer the option of installing lighting. This step requires a bit of patience, but it's absolutely worth it. Atmospheric lighting adds a special charm to your miniature house and makes it a real eye-catcher.
Patience is required
Building a miniature house requires patience and attention to detail. If you notice yourself getting tired or starting to make mistakes, take a break. The process is meant to be fun and relaxing, so take your time and make sure every detail is just right.
Admire your work
Once all the steps are complete, it's time to admire your finished miniature house. Place it somewhere beautiful where it will truly stand out. You'll be amazed at how much joy your self-built miniature house brings you—and who knows, maybe it'll be the start of a new hobby!
Conclusion
Building your first DIY miniature house is a wonderful way to express your creativity and create something unique. With the right preparation, patience, and a little diligence, your first project will be a success. Follow these steps, and soon you'll be the proud owner of a beautiful miniature house that will impress not only you but also your friends and family!